Using the Force.com App
The Payoloy Mobile Check Capture User Experience
Using the Force.com Mobile Check Capture Solution
Below, you will find screenshots of the Force.com public-facing Payology Mobile Check Capture solution. The User Interface uses the best-known practice to ensure performance and accuracy are at their peak.
The Initial Interface
The initial User Interface displayed to the User is comprised of the Company Logo (Adding Your Company Logo], the front and rear check capture functions which launch the mobile camera when clicked, and the check amount input field entered by the User.

User Interface
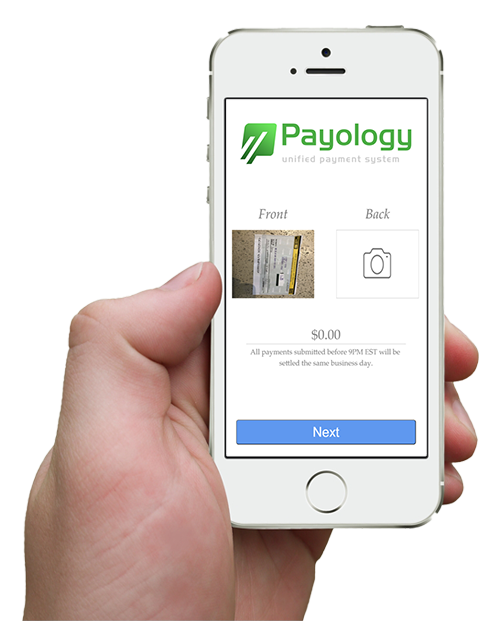
Step 1: User Capture of the Front Check Image
As the first step in the process, the user must click on the front check image logo, thus launching the mobile camera. Upon capturing the front image of the check, the full front check image will replace the front check image logo.

Step 1: Capture Front Check Image
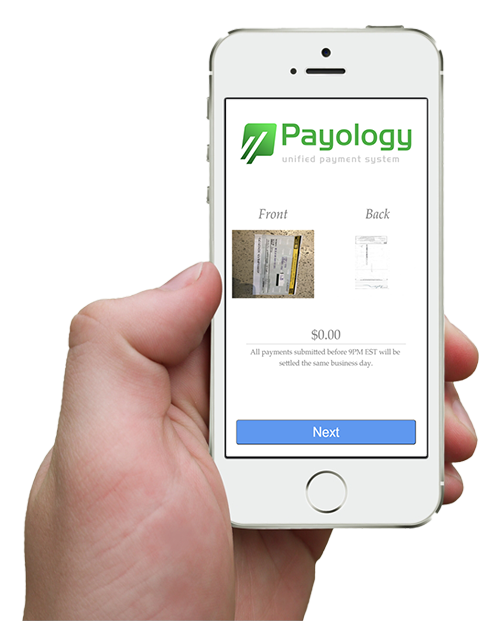
Step 2: User Capture of the Rear Check Image
The next step of the mobile check capture process requires the user to click on the rear check image logo, thus launching the mobile camera yet again. Upon capturing the rear image of the check, the full rear check image will replace the rear check image logo.

Step 2: Capture Rear Check Image
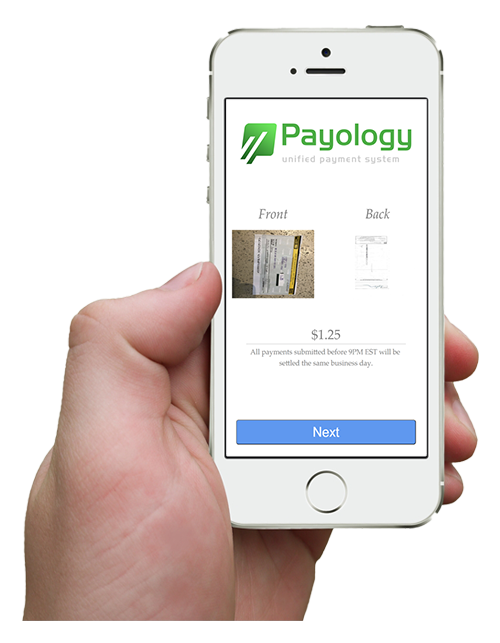
Step 3: User Enters the Check Amount
As the final step in the initial User Interface, the user must enter the check amount in the input field and click the "Next" button. Although the Image Processor does return the Check Amount extracted by the OCR, we collect this data only as a comparison, using the user-entered amount for accuracy.

Step 3: Enter Amount of Check
The Final Interface Displayed
The final User Interface displayed to the User is comprised of the Company Logo (Setup in Adding Your Company Logo], the routing number, account number, and check number values captured by the OCR engine. After reviewing or updating the values, the User must click the "Next" button. Please note, as shown in the example below, if the check number is non-existent, it will not be displayed to the user.

Step 4: Confirm Routing, Account and Check Numbers
The Redirect
Upon clicking "Next" the user will be redirected to the External URL listed in the Custom Settings of Payology (Custom Settings Configuration), using any existing tokens (Using Tokens in URL Parameters) which may have been configured.

Step 4: Redirect to Client Site or Thank You Page
Sample Checks
Below you will find a link to a zip file consisting of sample check images you can use during your testing process. The zip file consists of the following:
- 3 Personal Checks - Front Images (1.jpg, 2.jpg, 3.jpg)
- 1 Business Check - Front Image (4.jpg)
- 1 Personal Check - Rear Image (1-3_rear.jpg - Can be used when submitting any personal check)
- 1 Business Check - Rear Image (4_rear.jpg - Can be used when submitting the business check)
- Check_Micrs.txt - MICR values for each of the front check images (To be used if submitting the images to the Payment Gateway)
Sample Check URL: https://www.check21.com/sample_checks/Sample_Checks.zip
Next Steps
Salesforce Developers or Administrators who seek to understand the Data Model, specifically the Objects utilized in the Check Capture process, can do so by viewing the section labeled, The Data Model.
Updated 11 months ago